how to make a mini chocolate piping bag
here’s how to make a mini chocolate piping bag (as best as i can show in words and pictures):
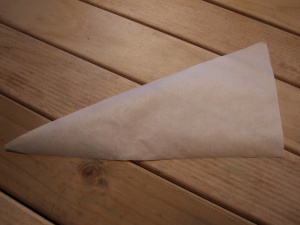
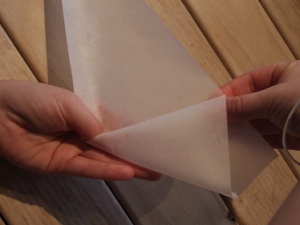
cut a scalene triangle out of baking paper. if it’s been a while since school you might need to google that (i did).
hold it in your hand with the pointy bit upwards and the short edge on your right.
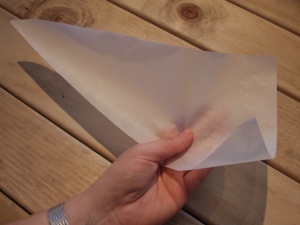
curl the short edge up and around and hold.
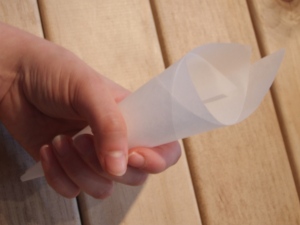
curl the long side up and around a couple of times to meet at the top.
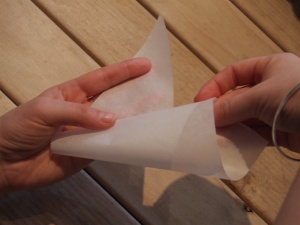
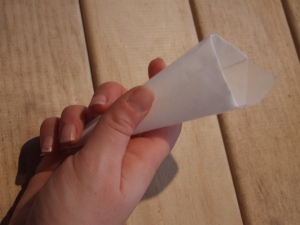
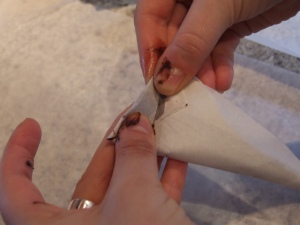
tighten it up by tugging on the points. make sure the tip at the bottom is very tight at the botton (or else your chocolate will ooze out).
fold down one of the points / tips to ‘lock’ it in place.
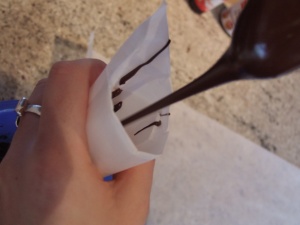
fill with melted chocolate. i always melt my chocolate in the microwave, but if you do that you need to stir every 20 secs or so, and don’t get distracted by other things or it will burn quickly. if you’re less attentive, use a double boiler (a bowl on top of a pan of boiling water).
fold down the remaining point / tip a couple of times to seal (can be a bit messy if you’ve got too much chocolate in there!).
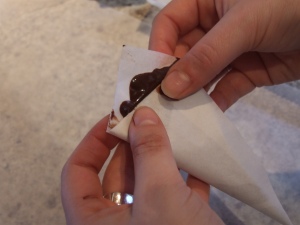
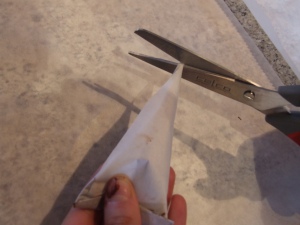
hold the bag between your thumb and fingers. chop the tip off to your desired size (depending on what you’re piping – err on the side of caution).
pipe! it’s best to hold the piping bag up off the paper, squeeze your thumb down gently and let the chocolate dribble down at it’s own speed. you’ll notice you need to move your hand on a bit of a delay in a flowing motion and the chocolate will land gently on the paper.

Trackbacks